Custom Domain
Learn how to set up a custom domain (e.g. blog.example.com or example.com) for your blog.
Setting up a custom domain will help you to build your own brand and prevent locking into our platform in case you want to move to another platform in the
future.
Prerequisites
- A domain name.
- Access to your domain’s DNS settings to create DNS records.
- Admin role access to your blog.
Step 1: Update Blog Settings
- Go to Console → Settings → Hosting.
- Click Setup Custom Domain
- Enter your custom domain
- Click Save
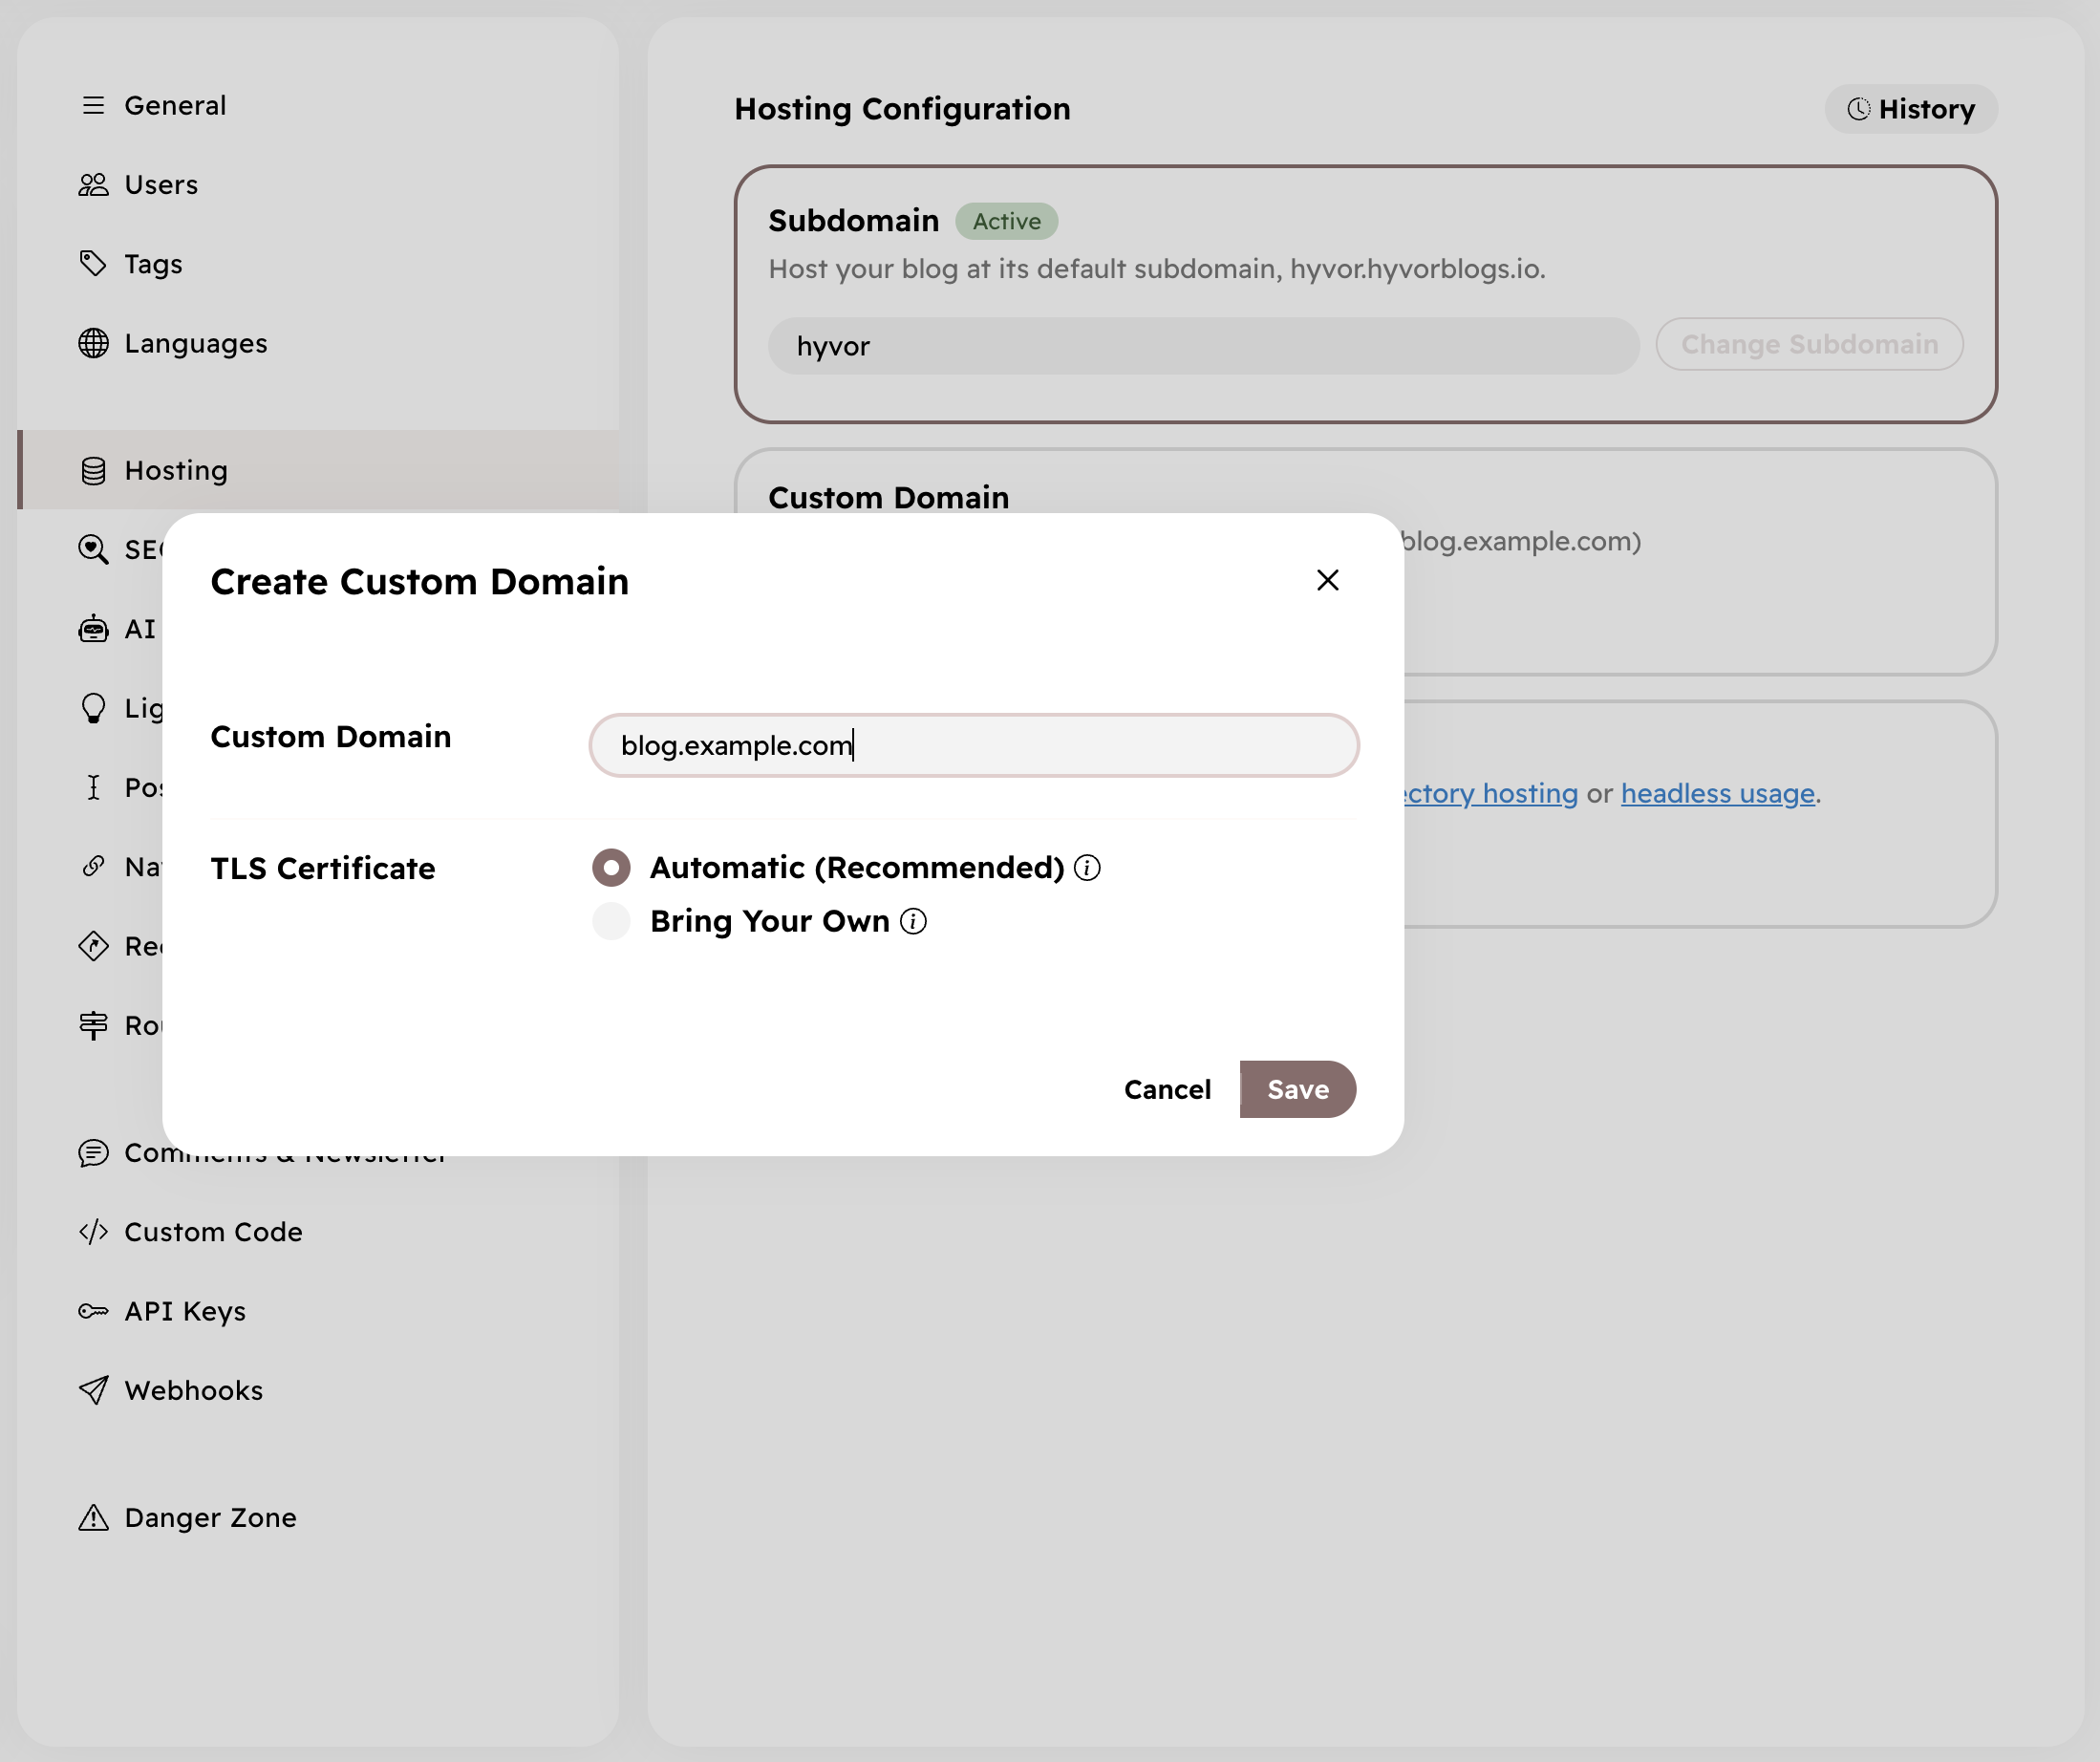
You can add your own TLS certificate and private key for your domain by selecting Bring Your Own option. However, we recommend you to use the Automatic option and let Hyvor Blogs handle your TLS certificate through Let's Encrypt.
Step 2: Update DNS Records
Go to your domain registrar’s DNS settings and create either a CNAME (recommended - easier and more reliable) or an A record with the details below.
Voila! Your blog is now available at your custom domain.
Using Cloudflare
If you are using Cloudflare for your domain, use one of the following options.
- (Recommended) Turn on the proxy (Orange Cloud) and set the Encryption Mode to Full or Full (Strict). This will enable the Cloudflare global CDN for your blog for better caching and performance.
- Turn off the proxy (Gray Cloud)
Troubleshooting
If your blog with custom domain is loading infinitely or returning any other errors codes, please check the following.
- Make sure you do not have any other
AorAAAArecords with the same hostname as your custom domain. - If you have set up
CAArecords for your domain, make sure you have allowed ZeroSSL to issue certificates for your domain (see this guide). HOWEVER, please note that in the event of a change in our certificate provider, you may need to update your CAA records accordingly. Therefore, if possible, we recommend not to use CAA records for your domain.